Welcome back to our EDT Lesson series where we’ve been helping Alanna get on the road. If you missed it, we covered EDT lesson 1 – Car Controls & Safety Checks with Alanna on her first day of lessons. Now she’s got the basics, today we moved on to Lessons 3 and 4, where we covered changing direction and progression management.
In lessons 1 & 2, Alanna learned about 3 acronyms that are synonymous with learning to drive:
- The POM (Prepare. Observe. Move) routine,
- Moving out on to a busy road with the GOSHO (Gear. Observation. Signal. Handbrake. Observation.) routine and the
- MSPSL (Mirror. Signal. Position. Speed. Look.) routine when approaching different junctions.
On day 2, we’ve learned some similar but effective acronyms to the MSPSL routine:
MSMM (Mirror, Signal, Mirror Manouevre) – Which means when you are intending to turn or change direction check your Mirror, Signal the direction you intend to turn, check your Mirror again and Manoeuvre the car in the desired direction.
LADA (Look, Assess, Decide, Act) – Which means Look in your mirrors, Assess your surroundings, Decide your best course of action, and Act accordingly to safely make your move.
Why so many acronyms?!
I guess you may be wondering, why all the acronyms when they all mean similar things? The simple answer is that our job at ISM is to teach you easy ways for the learner to remember what to do in any situation they may be faced with. One learner may find one easier than the other to remember or one situation might require more vigilance than others. Remembering what to do is the most important part. In a test situation, if Alanna can call on any one of these routines while approaching a potentially difficult situation, it allows her to safely take the right course of action and avoid any Grade 2’s or potentially Grade 3’s in her final result.
Lesson 3 – Changing Direction
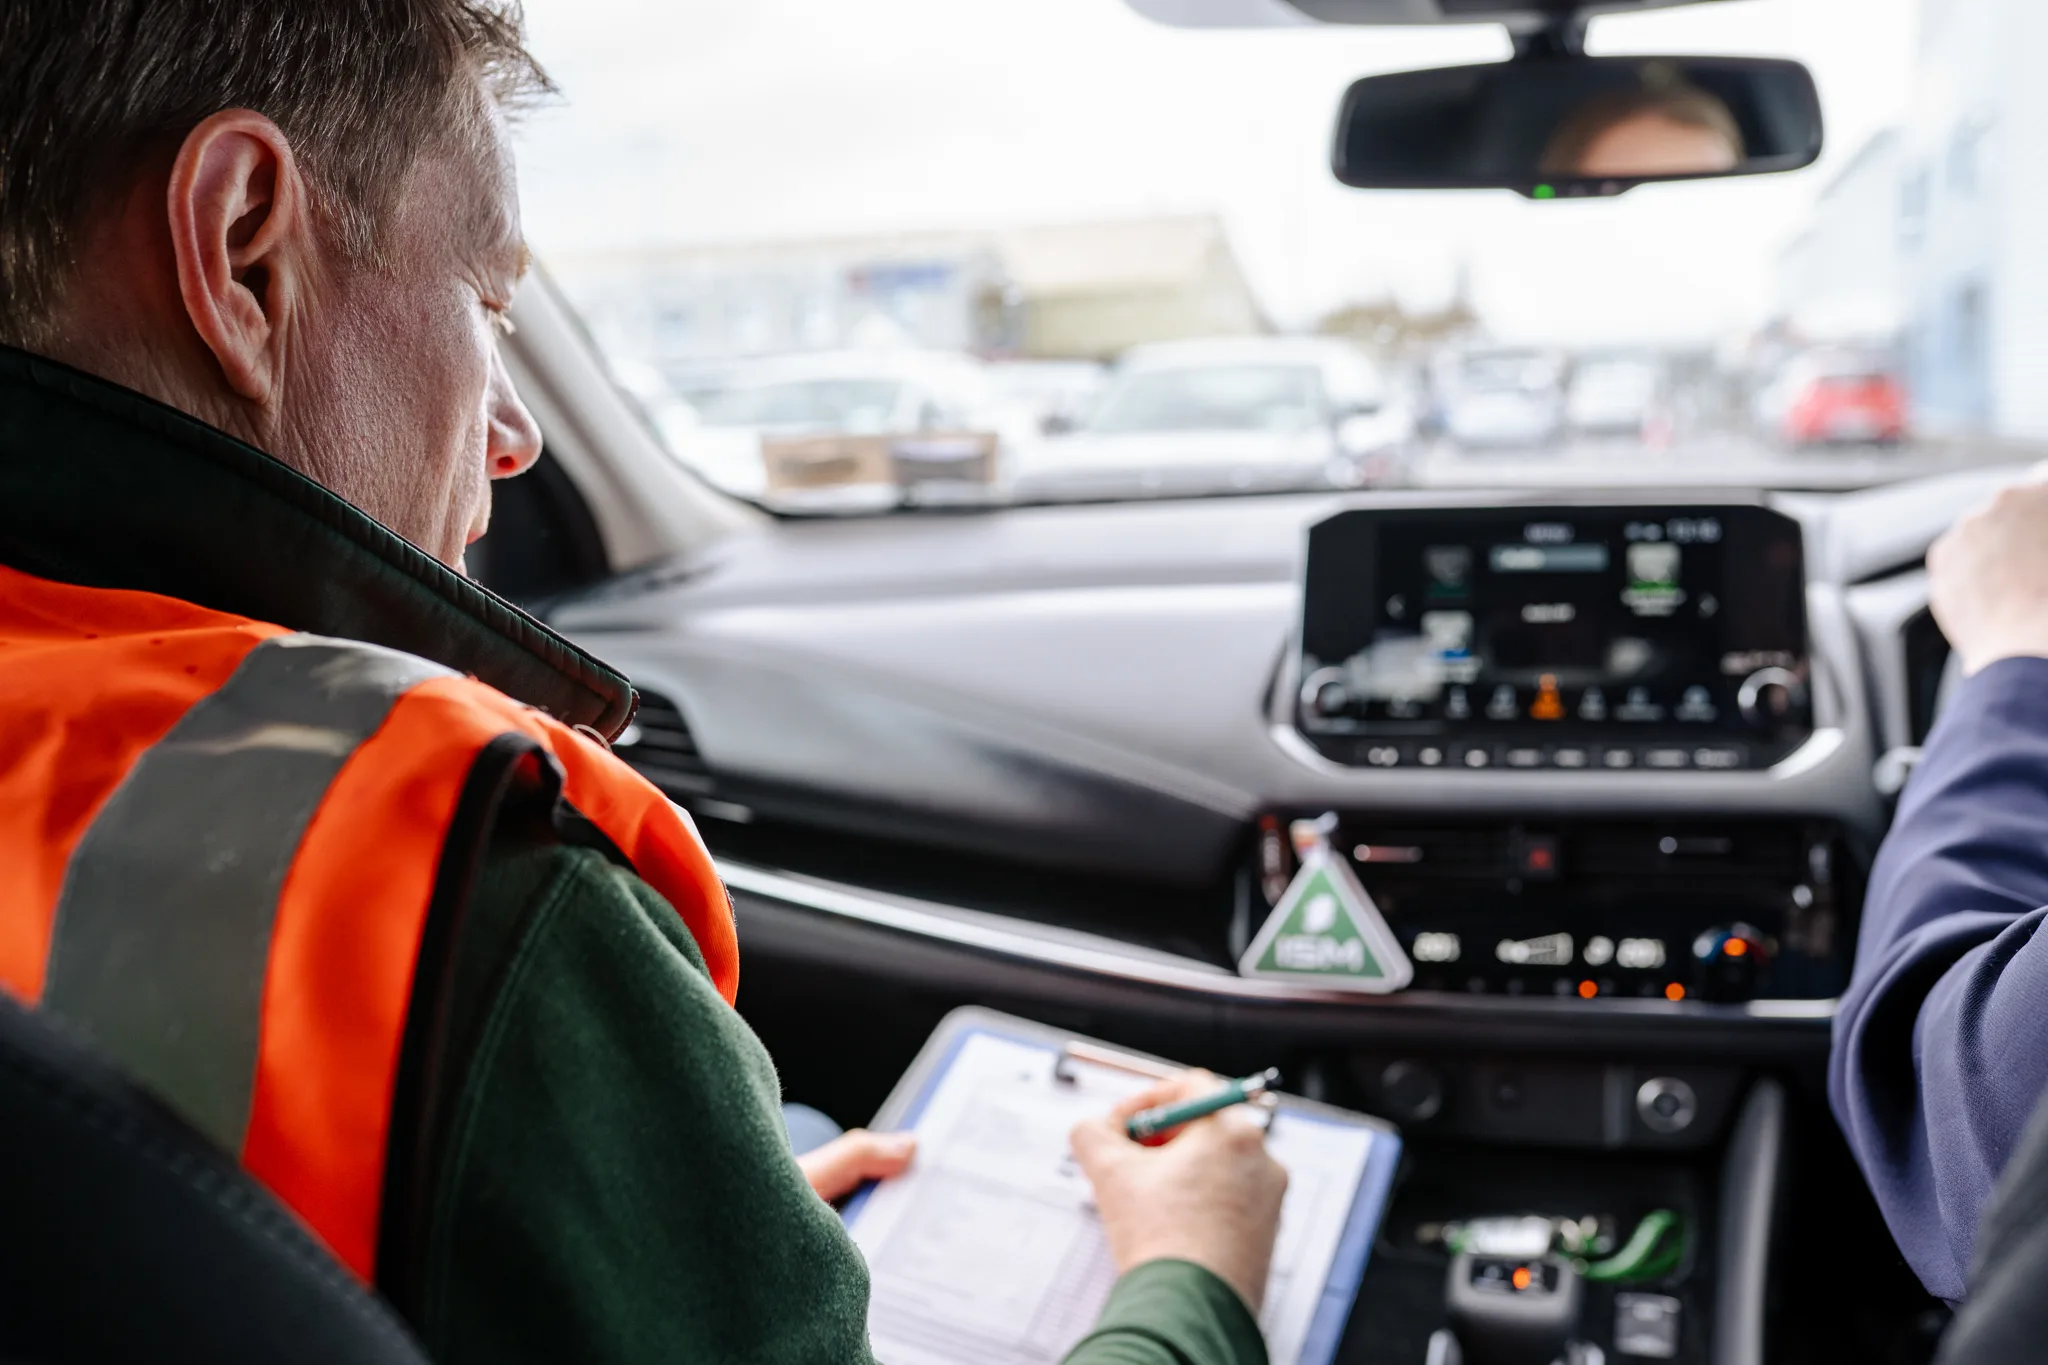
Today it was time to put all of theses routines into practice. For lessons 3&4, we had Alanna out on the road for the majority of the lesson. We mostly stuck to the MSMM routine and looked at some basic scanning techniques while driving in some light, mid-morning traffic. Here are some of the situations we found ourselves in:
- Driving position on a straight – If we’re not intending to turn left or right any time soon, it’s best we keep the car in the middle of your lane. A good rule of thumb, we told Alanna, is to imagine the driver’s seat as being in the middle of the lane, this should allow sufficient space either side of the car.
- Turning Left – In good time, our instructor told Alanna we would be taking the next left.
Approaching the turn
Thinking of her MSMM routine, Alanna checked her mirrors to gauge her surroundings, indicated left, checked her mirrors again and once it was safe to do so (looking out for cyclists in particular), she positions the car as close to the left edge of the lane as possible.
Making the turn
At this point are we ready to turn? No. Alanna must observe MSMM again, check her mirrors, keep signalling left, one last look in her mirrors and if the way is clear of cyclist, she can safely make her turn. At this point we also advise Alanna that she must have a quick look into the road she is turning into, to make sure it’s clear of obstructions
- Turning Right – Following our initial turn, we are then approaching a right turn up ahead. Right turns always require a little bit more vigilance than left turns because you have to change lane across another lane of traffic.
Approaching the turn
When looking to turn right, you want to position the car as close to the centre line on the road as possible, without going into the other lane. Once in position, Alanna did MSM (Mirror, Signal, Mirror) and then checked the oncoming traffic lane. Luckily, the way was clear at this point.
Making the turn
Nope! Even seconds can make all the difference for your surroundings to change while driving. Once the oncoming lane was clear, Alanna checked her mirrors again, checked her signal, and had a quick look into the turn for any obstructions. Once it was safe to do so, she made her right turn.
- Roundabouts – Roundabouts can arguably be the most daunting thing to learn at first. 4 lanes of traffic, merging on to one circular road with everyone wanting to go in different directions? Sounds like a nightmare! However, understanding your positioning, and the direction you want to go at a roundabout while maintaining constant surveillance of what’s going on around you, usually means everything else falls into place.
Positioning and what lane to take on approach to a roundabout
Something to remember when approaching a roundabout is, if you’re going left (1st exit) or Straight (2nd exit), you’re positioning the car in the left lane on approach. If you’re going right, position yourself in the right lane. It’s that simple.
Observations approaching a roundabout
On approach, Alanna must yield to traffic coming from the right on a roundabout. If the way is clear, she can enter the appropriate lane. In this case, at our first roundabout we were taking the 2nd exit. Once the way was clear, we entered into the left lane of the roundabout.
Observations exiting the roundabout
Here we bring in our MSMM routine again. Alanna has checked her mirrors, once past the 1st Exit, she signals her intent to leave the roundabout at the 2nd exit, she indicates left, checks mirrors again and safely exits the roundabout.
For the rest of the lesson, we observed our observation routines across a number of other junctions, including:
- T-Junctions – Safely observing oncoming traffic from both sides before safely turning out.
- Pedestrian crossings – Positioning before and after a crossing.
- Crossroad junctions – Positioning when going left, right and straight.
It’s important to us that in these initial stages Alanna always keeps the words and observations of her instructor in her mind. Mistakes are expected but as we progress into further lessons her driving will get better, mistakes less frequent and ultimately, she’ll be more comfortable in the car.
Lesson 4 – Progression management
The second half of day 2 once again incorporated a lot of what we’d learned in the first two lessons. Alanna was ready for progression management in the car. That is, ultimately controlling her speed and adapting to different conditions while out in the car.
In this lesson we covered:
Speed Management
Speed management while driving can vary based on the conditions of the road at the time. When she eventually gets to her test, Alanna’s instructor will look to see if she can stay as close to the speed limit (without going over) as she can, while maintaining correct road position and using the usual observation techniques. Speed management is a key learning in early lessons when Alanna will look to adjust speed based on certain road layouts and conditions.
Stopping Distances and Wet Conditions
Another crucial part of early EDT’s. Stopping distances indicate when it’s time to take your foot off the accelerator and start braking gently to come to a safe stop. There are many factors to consider when asserting your stopping distance. The car’s load and weather conditions can increase the time it will take for the car to come to a complete stop. In today’s lesson, we’d had quite a bit of rainfall overnight so Alanna, while approaching a red traffic light had to brake gently a lot sooner to come to a complete stop.
A good rule for stopping distances is to allow a 2-second following distance from the car in front of you, and if conditions are wet, allow 4 seconds.
Driving appropriately for traffic flow
You’re not always going to be able to drive as close to the speed limit as you’d like and this will entirely depend on traffic flow. We walked Alanna through some of the dangers of both driving too fast and driving too slow relative to surrounding traffic.
End of lesson Q&A
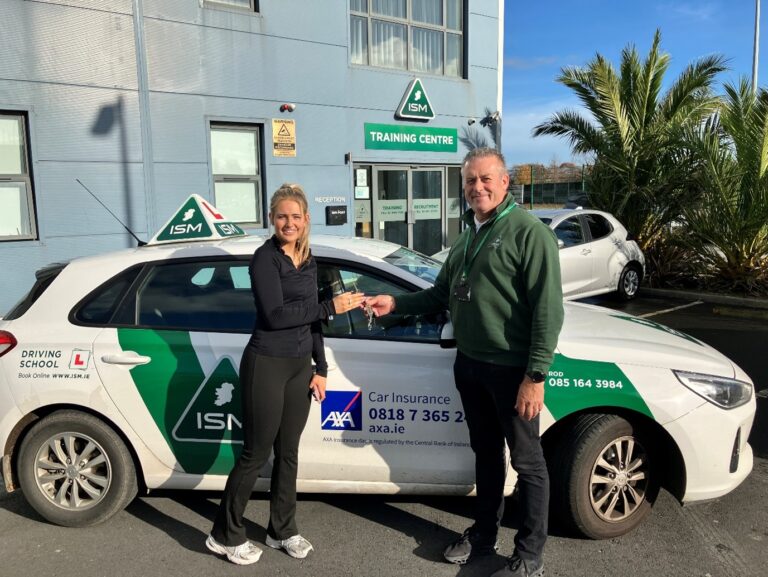
Like our first day, Rod and Alanna took some time to chat at the end of these lessons. “As this was the first time she had the car out on the road for most of it, it’s important to us in ISM that we get feedback from the learner, while also talking about progression and things to watch out for in the next lesson.”
Here’s what Alanna had to say about her second day:
Lessons 3 and 4 were very good. I feel like I’m making great progress. I was driving on the actual roads and even attempted roundabouts. That caught me off guard at first, but the more we drove around them the less intimidating they became. I think I’m improving, it’s great to be doing my lessons with someone like Rod who has the patience of a saint!
Here’s how Rod feels Alanna is progressing:
Second session went great. First we went to an industrial estate and practiced turning left and right and T-junction stop lines. Then Alanna got her first taste of the main road, with major roundabouts and lots of traffic. We looped around the main road, housing estate and roundabouts and she started to feel much more comfortable.
Next Time – Day 3
We’re on to lessons 5 and 6 already! As Alanna continues to progress it’s clear to us she’s getting more and more comfortable in the car. Next time, we’re going to look at some more complex situations in the car and working on how to anticipate and react to changes in driving situations.
Remember:
If you’re a driver between the age of 17-40 and you have an AXA car insurance policy, you can get your 12 EDT Lessons for €545 AND if you complete your within 12 months you could get up to €400 off your car insurance. Read more now on the AXA Website.